
These photos document the hard drive upgrade I did to my factory-dual-drive Series 1 Tivo.
I’ve had these photos sitting around for years, and only now that I have this site, do I have a way to share them. I hope that someone enjoys them and maybe even finds them useful for their upgrade.
I bought my first (and only, so far) Tivo from a friend who was looking to upgrade in 2002. Like most people, I had wondered just what this Tivo thing was and why would I pay a monthly fee to use it. Well, my friend demonstrated the Tivo concept to me and convinced me that I should give it a try. One of the best decisions I’ve ever made – thanks Daran! 😀
The used Tivo I bought was a HDR312 model — the fancy 30GB dual-drive that used to reign as the king of capacity in DVRs. From the factory, it shipped with two 15GB Quantum hard drives. At the time I bought it, the unit was probably a couple years old, so I figured that I might as well upgrade the drives for more capacity and also to get some fresh hardware in there just in case the drives were getting a bit tired.
At the time of the upgrade (late 2002) the Seagate Barracuda drives were the quietest drives you could buy, so I grabbed an 80GB drive on sale and set-out to do the upgrade myself, taking photos along the way, and here they are! I loosely followed the excellent Hinsdale Tivo upgrade guide for the general process.
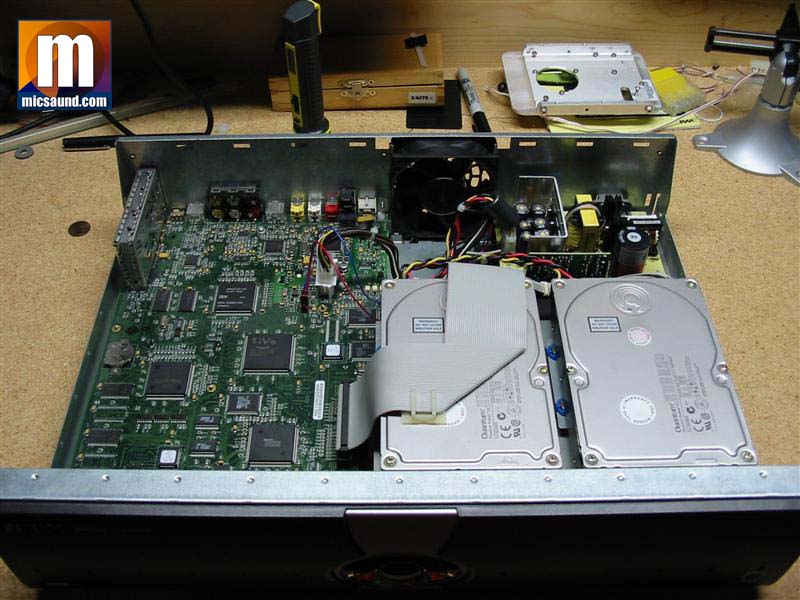
First, I removed the cover from the Tivo, exposing the factory dual-drives. Yep, sure enough, there are two 15GB Quantum drives “featuring Quickview technology” 😉
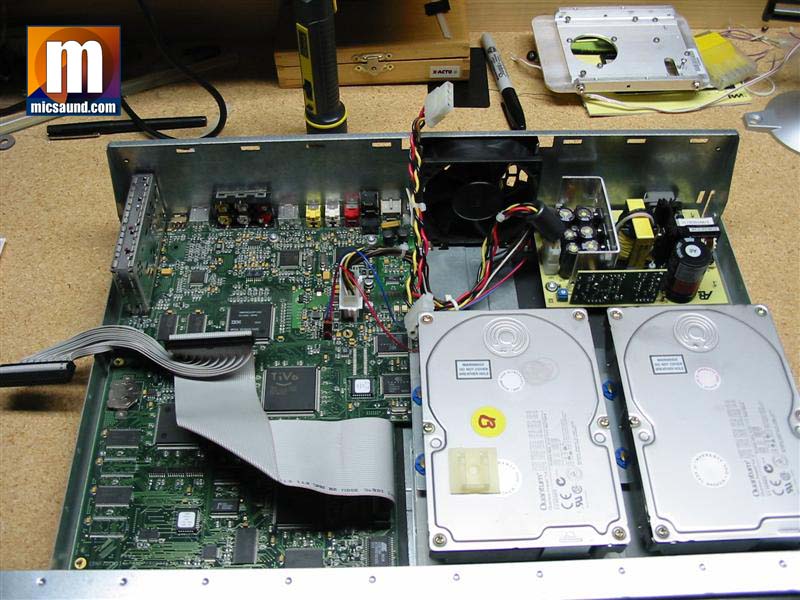
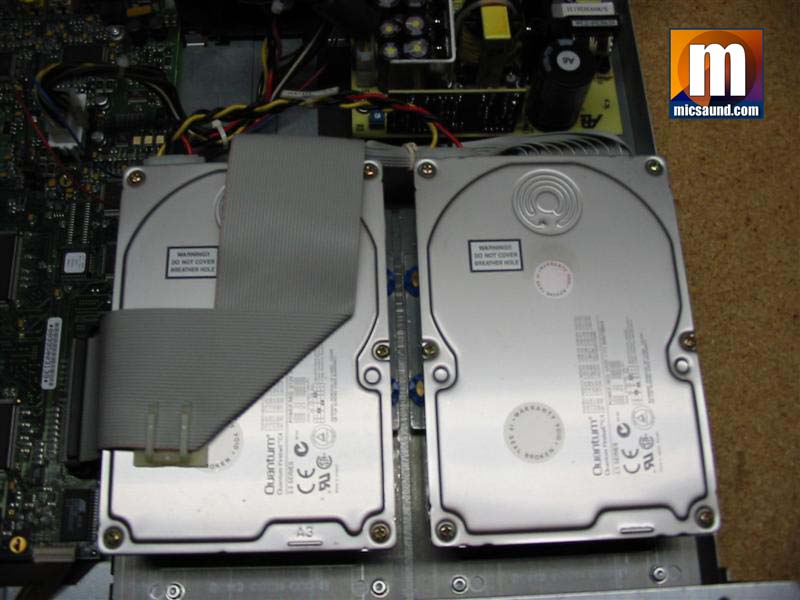
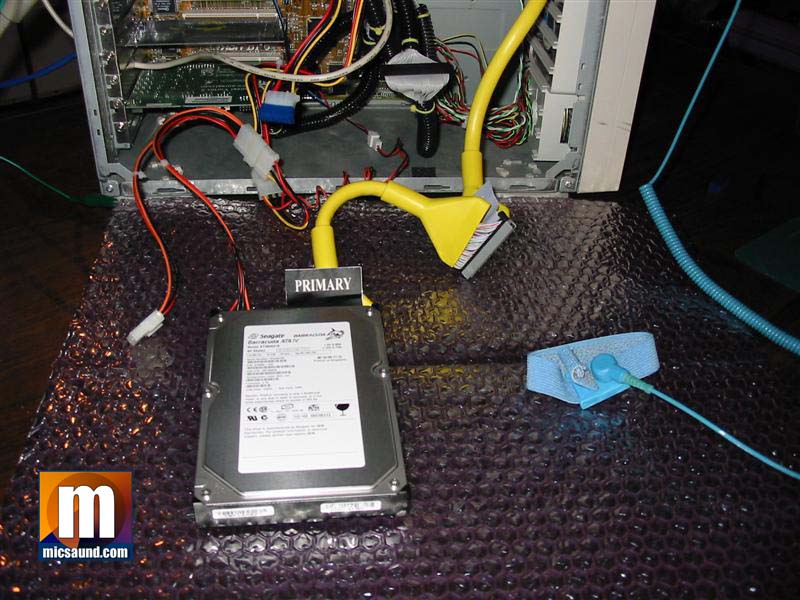
Next, I removed the power cable and IDE cable from the drives. As you can see, one of the nice benefits of a factory dual-drive unit is that a dual-connector IDE cable is provided. The factory split the ribbon wires between the primary and secondary plugs so that the cable very easily works with the side-by-side physical configuration.
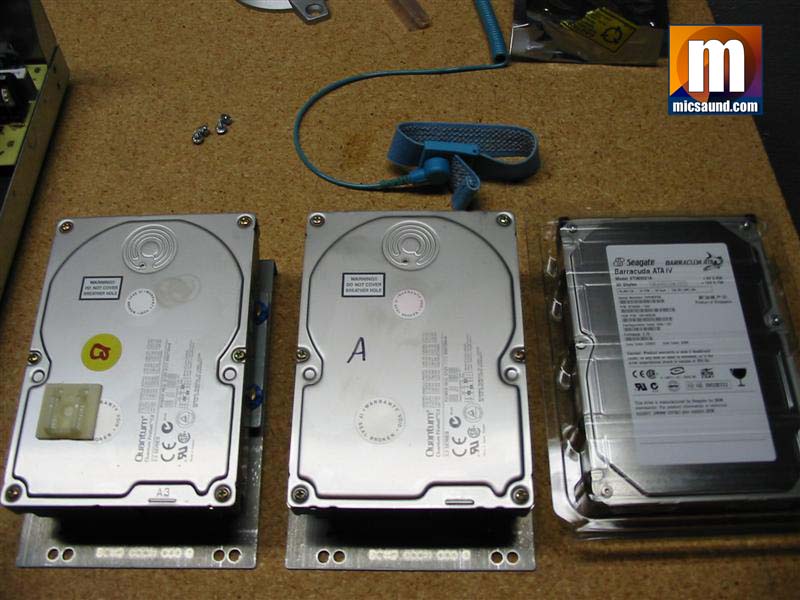
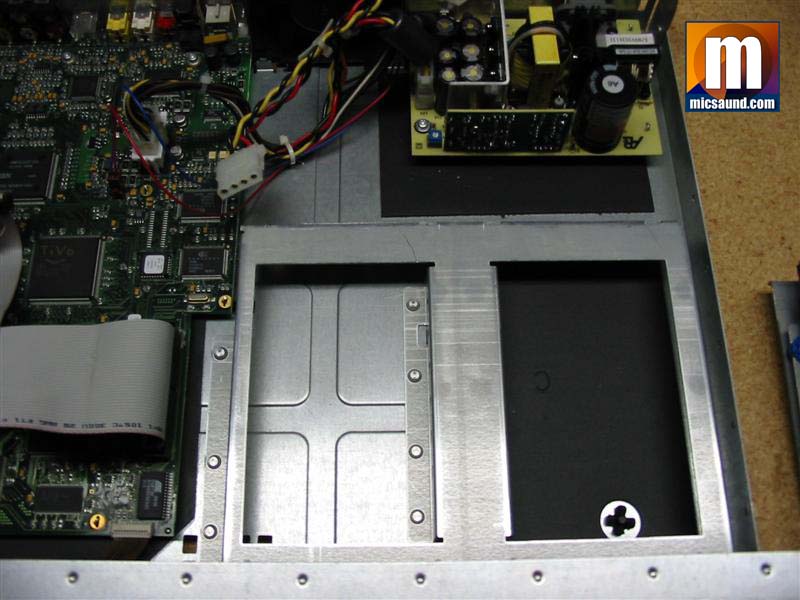
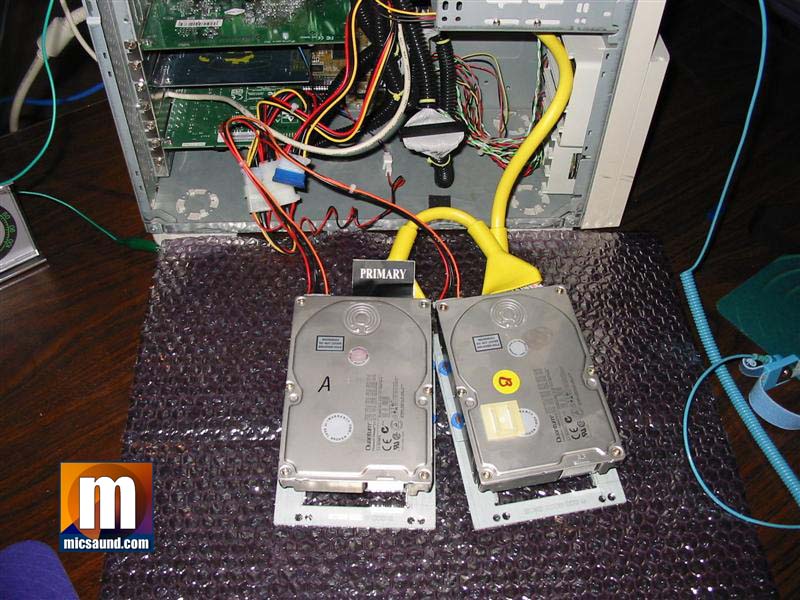
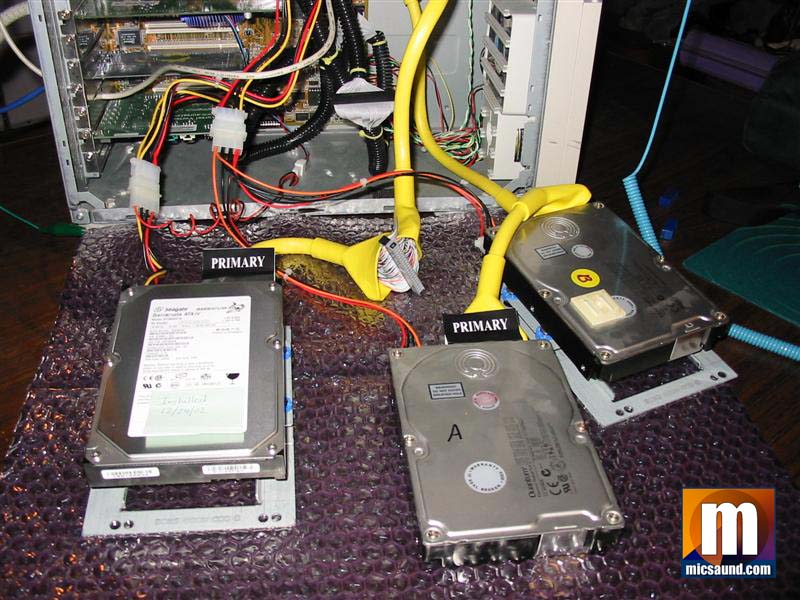
Here, you can see that I removed the two original drives from the Tivo chassis. They are placed next to the soon-to-be new Tivo hard drive, the Seagate 80GB Barracuda. The mounting sleds are still attached to the Quantum drives. In the chassis, underneath the drives, you don’t find much; just some sheet metal and a bit of sound proofing material.
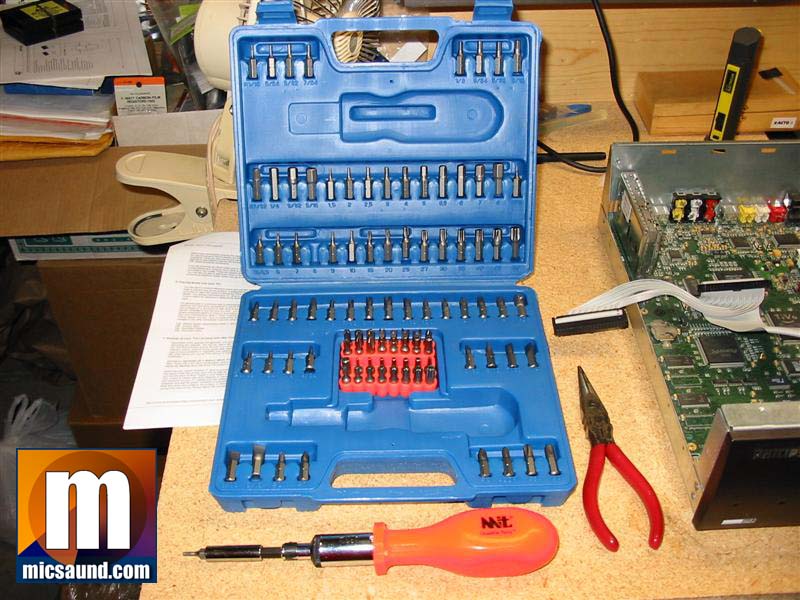
Critical to anybody looking to do hardware hacks and mods is a decent screwdriver set with security bits. Here, you can see my set which I picked-up at RadioShack.com (no link because I don’t think they carry it anymore) some time ago. It has a nice, comfortable ratcheting handle, a plethora of normal philips, flat, hex bits, and most importantly, the precious “security bits” in the orange holder in the center. These are those odd star (Torx) bits with the dimple and other weirdo bits that manufacturers try using to keep you out of the stuff you bought. If you do any hardware work, make sure to grab one of these security bit sets.

Since my Tivo had been in-use for a while and contained several of shows I didn’t necessarily want to lose, I decided that I would copy everything over to the new drive. However, I also wanted a “system only” backup of the operating system which I could burn to a CD just in case something went wrong.
First, to make the system backup, I had to connect the two Quantum drives to a Linux computer. Since I’m a pretty hardcore nerd, I have things like Linux machines sitting around just waiting to be used, which is fortunate. 😀
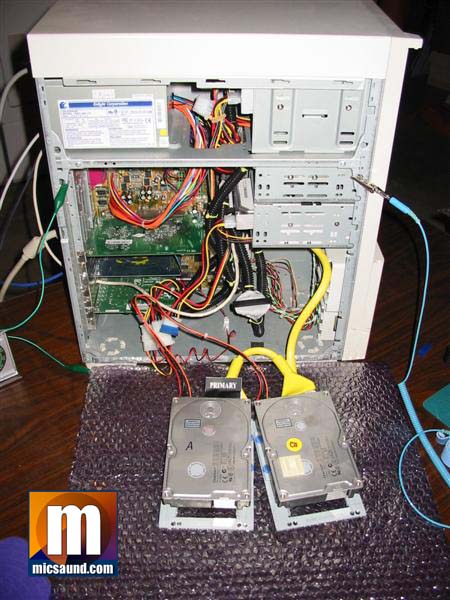
Both drives were connected to a single IDE channel with the A drive as the master and the B drive as the slave. Note the anti-static precautions: wrist-strap and conductive surface. This is important to avoid zapping your expensive toys. Anyway, I fired-up mfstool and told it to image both drives onto the computer’s internal hard drive. This took quite a while.
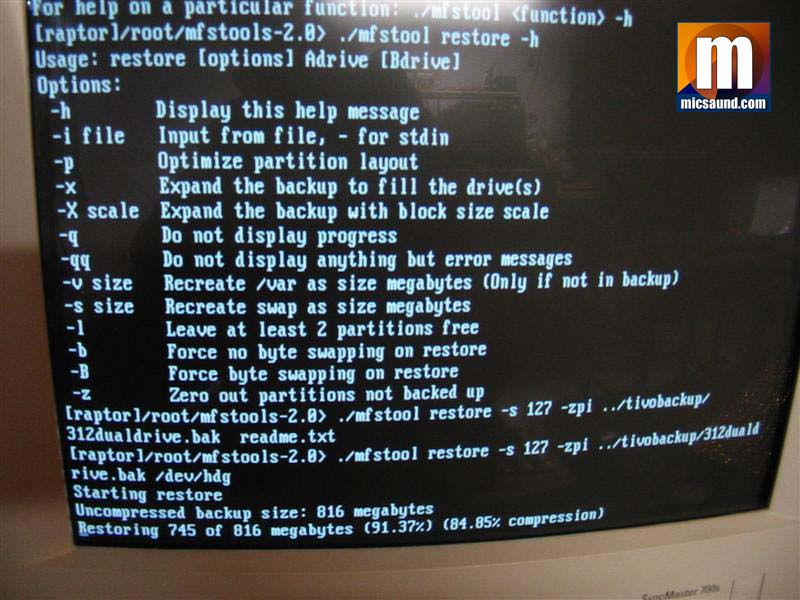
Allright! The Tivo operating system and core files have been imaged to the computer’s internal drive, so I decided to test the backup just to make sure things had worked OK. I wrote the backup image out to the new drive just to test things out. Here, you can see the new drive connected to the computer as the master on the IDE channel. The screenshot shows mfstool writing the Tivo operating system backup to the new drive just for testing. This also takes a very long time…
Now that I have seen the backup writes OK to the hard drive, it’s time to do a full copy from the two Quantum drives to the Seagate including TV shows. Because the shows caused the image to be very large, I could not write the image to the computer’s internal drive as it’s only a 13.6GB drive. So, I connected the new drive up to one IDE channel and the two old drives to the other and did a disks to disk copy with the bootable CD. Sorry, I forgot to take a screenshot of this, but you can rest assured that this also takes a very long time…
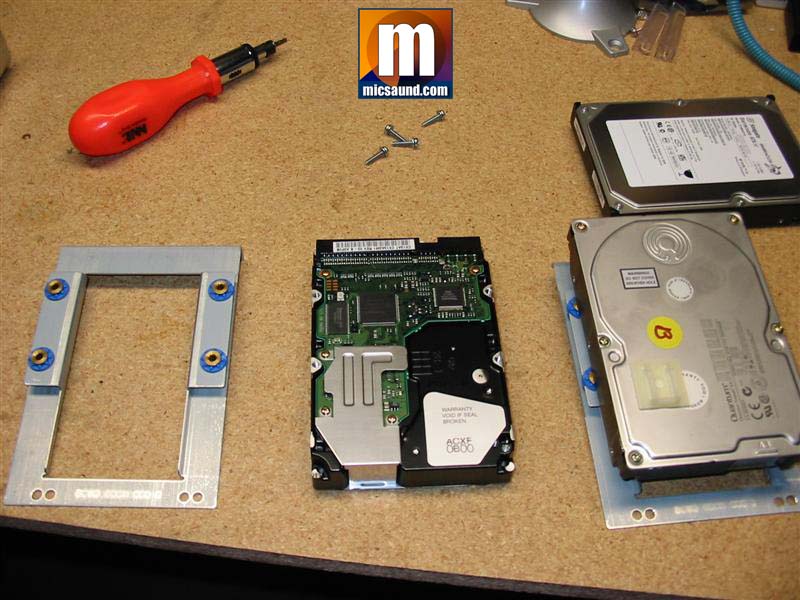
Whew, almost done! Now, it’s time to put one of the custom Tivo hard drive brackets onto the new drive. The old drives went into safe-keeping in foam-padded boxes which are somewhere in my basement even to this day.
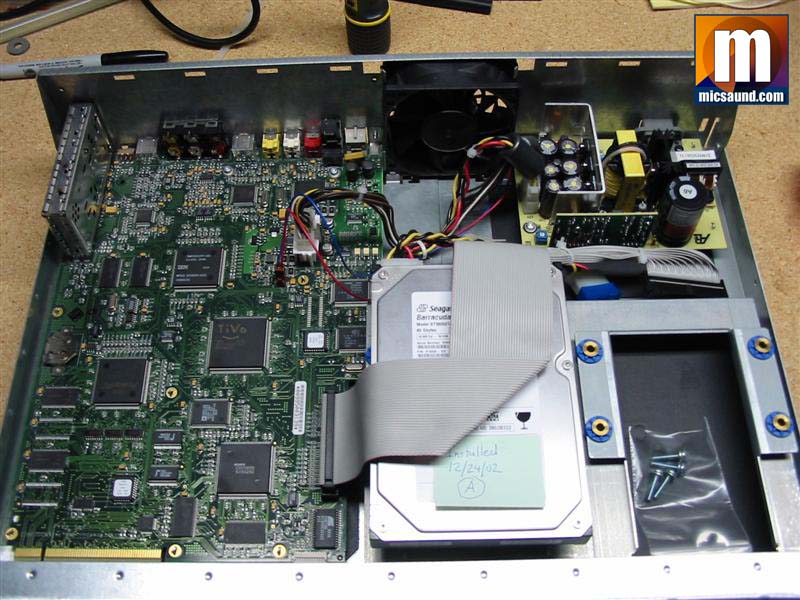
Finally, here is the new drive installed and ready to go in the chassis! You can see the unused second drive bracket installed in the empty space for safe keeping and future possible use. I like to put a sticky note on drives when I install them in long-term devices showing the installation date since it’s hard to remember exactly how old a drive is.
I replaced the Tivo’s cover and stuck it back into my TV system and it worked perfectly. The mfstool guys really made a easy-to-use tool which works wonderfully on the strange and convoluted Tivo filesystem. The Seagate drive is many times quieter than the old whining Quantum drives. I actually came downstairs the next morning and the lack of whine caused me to think “Oh no! Something fried in the Tivo overnight!” Nope – the drive was just essentially silent, especially compared to what I was used to. The capacity went up to around 80 hours on low quality, so that gives me a decent amount of storage on the higher quality settings. Mission accomplished!
This trusty Tivo Series 1 is still serving me today with the same Seagate drive. I’ve since added a TivoNet (replaced with the newer TurboNet) network card so that the guide data can be downloaded across my cable modem rather than a phone line, which is really important since I no longer have a landline phone (take that Qworst!!!) I’m a total Tivo convert and honestly, it’s one of the technology purchases I’ve gotten the most use and pleasure out of owning. I cannot stand to watch non-Tivo TV at this point and if my Tivo ever does go to that great scrapheap in the sky, you can bet that I’ll be buying another the very next day!
Hey Mike!
I agree as well that Tivo is one of the best technologies I’ve
purchased. I remember vividly that Sat we upgraded my brand new
series 1 to 110 Hrs of capacity! I still have the unit today in
addition to my new series 2 and it’s happily sucking down tv
programs for my viewing pleasure.
Half the fun of upgrading for me was the feeling of excitement and
satisfaction that I could upgrade a piece of consumer electornics
that most people would never consider opening (let alone voiding the
warranty on their brand new unit ;^).
Thanks Mike for helping me with the upgrade!